Imagine a tiny computer that fits in the palm of your hand, capable of powering endless projects and sparking your creativity. That’s the magic of Raspberry Pi. If you’re new to this fascinating realm and find the idea of installing an operating system (OS) a tad intimidating, fear not! This blog is your trusty companion on this exciting journey.
Setting the Stage: What You Need
Before we dive in, let’s gather our essentials:
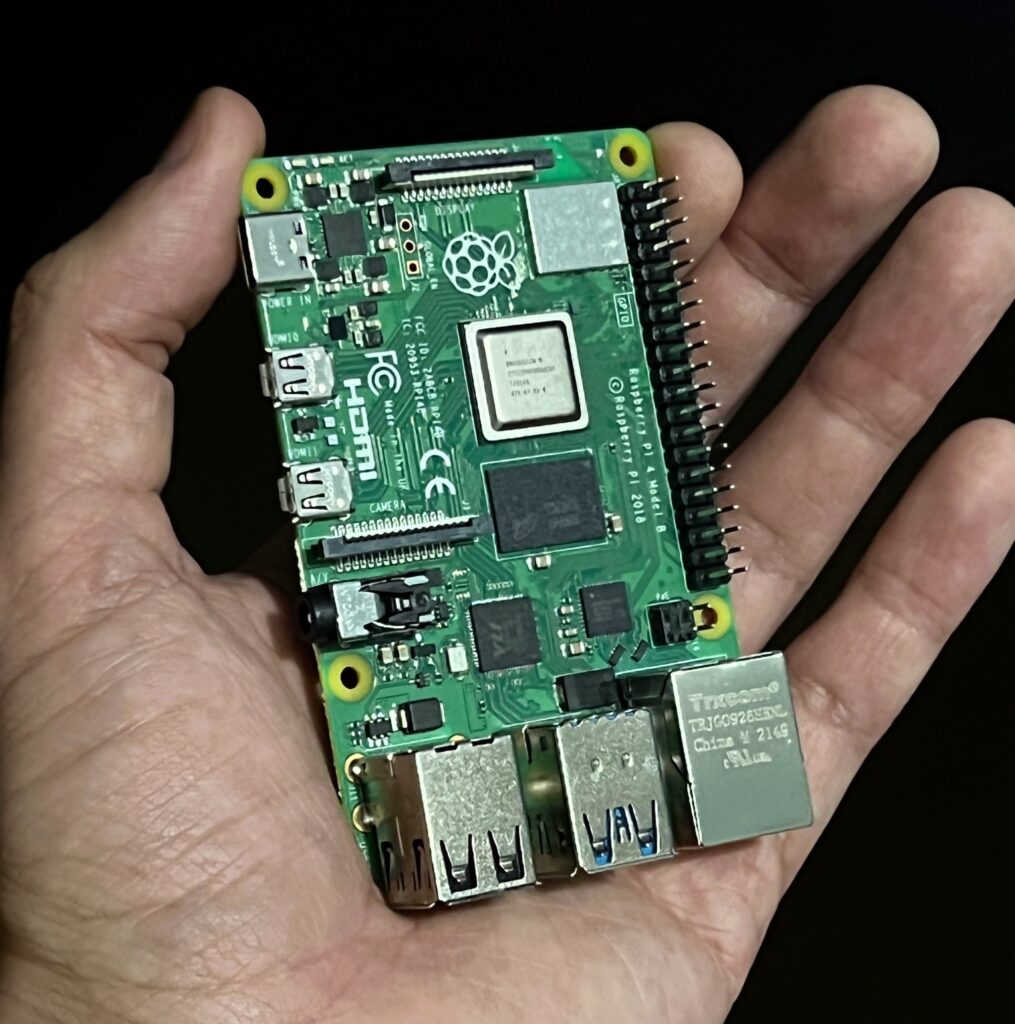
- Raspberry Pi (any model)
- MicroSD card (8GB or larger)
- MicroSD card reader
- Computer or laptop
- Internet connection
The Gateway Tool: Pi Imager
Meet Pi Imager, your key to unlocking the potential of Raspberry Pi. Here’s how to get started:
- Head to the official Raspberry Pi website and navigate to the “Software” tab.
- Click on “Raspberry Pi OS” and find the “Raspberry Pi Imager” section. Download the tool – it’s your virtual magic wand.
- Open the installer, follow the prompts, and let Pi Imager make its home on your computer.
The Heart of the Matter: MicroSD Card and Pi Imager
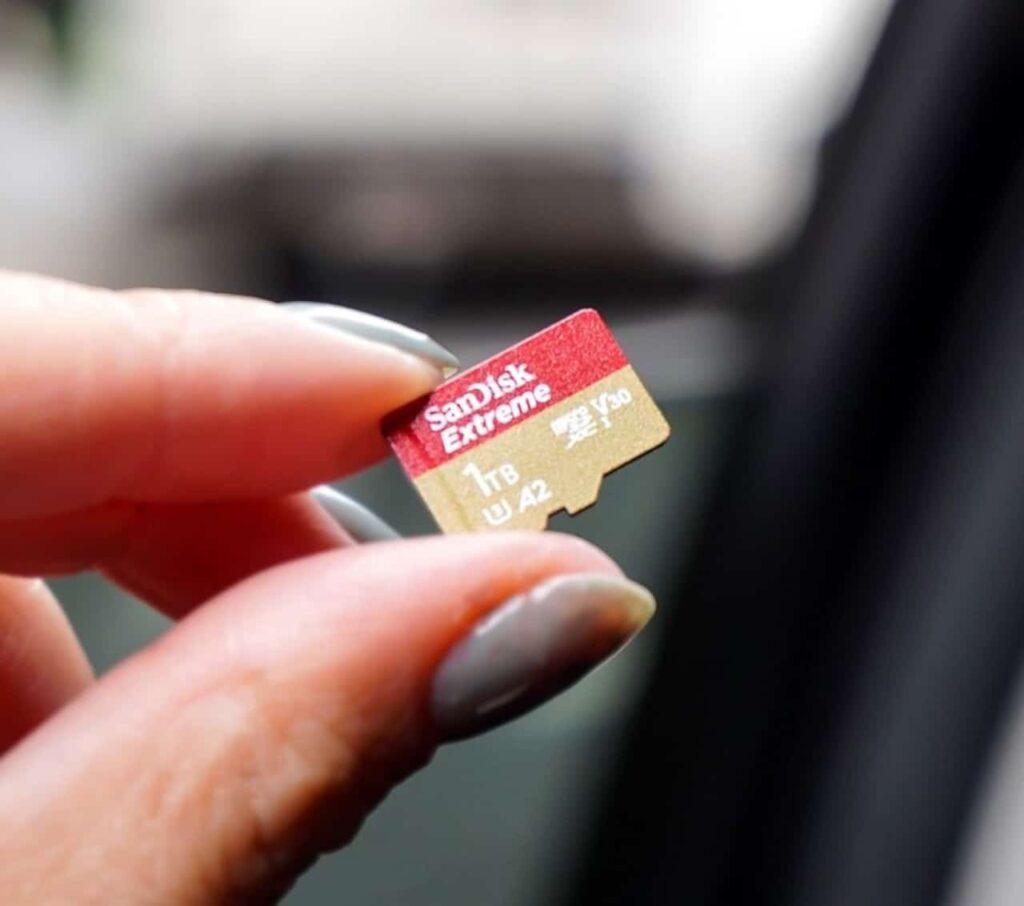
- Insert the MicroSD card into your trusty card reader and connect it to your computer.
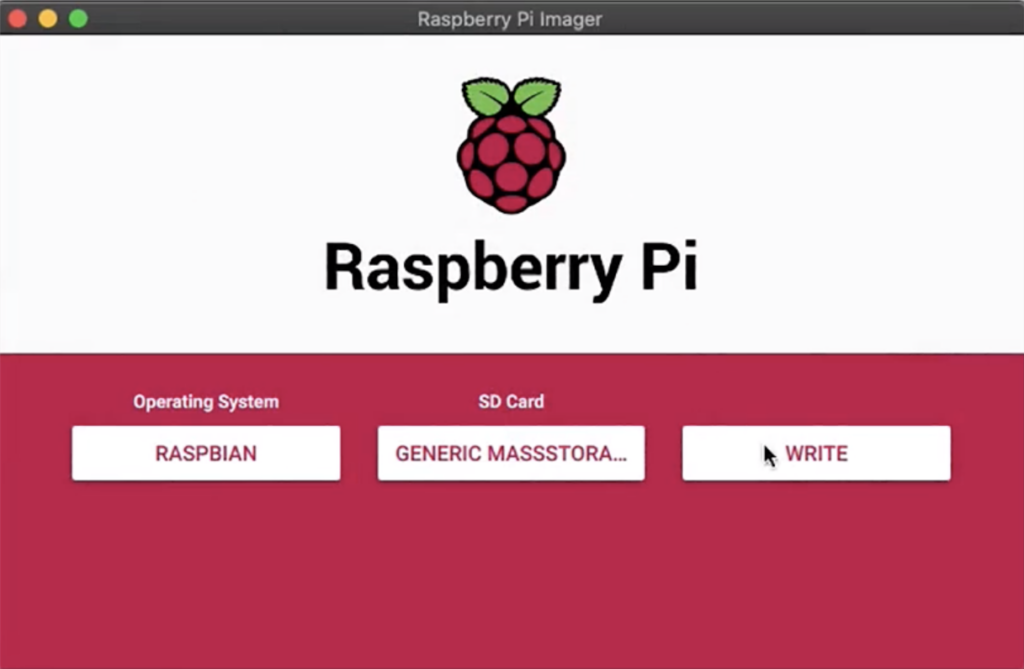
- Launch Pi Imager and watch as the interface opens a gateway to the Raspberry Pi universe.
- Choose your OS: opt for the 32-bit “Raspberry Pi OS.” Now, select your MicroSD card – the canvas for your digital masterpiece.
- Hit the “Write” button, and watch the magic unfold as Pi Imager breathes life into your MicroSD card.
- Safely eject the card, holding within it the key to a world of possibilities.
Lights, Camera, Action: Booting Up Your Raspberry Pi
- Place the MicroSD card into the Raspberry Pi’s eager card slot.
- Connect your Pi to a display using an HDMI cable, and introduce it to the world of visuals.
- Equip your Pi with a USB keyboard and mouse – the tools of interaction.
- Power up your Raspberry Pi using a micro-USB cable connected to a power source.
The Grand Unveiling: Raspberry Pi OS Setup
As your Raspberry Pi springs to life, follow the on-screen instructions to set up Raspberry Pi OS:
- Configure your Wi-Fi, ensuring your Pi is a well-connected explorer.
- Select a password – the guardian of your digital sanctum.
- Update the software, ensuring your Pi is equipped with the latest and greatest.
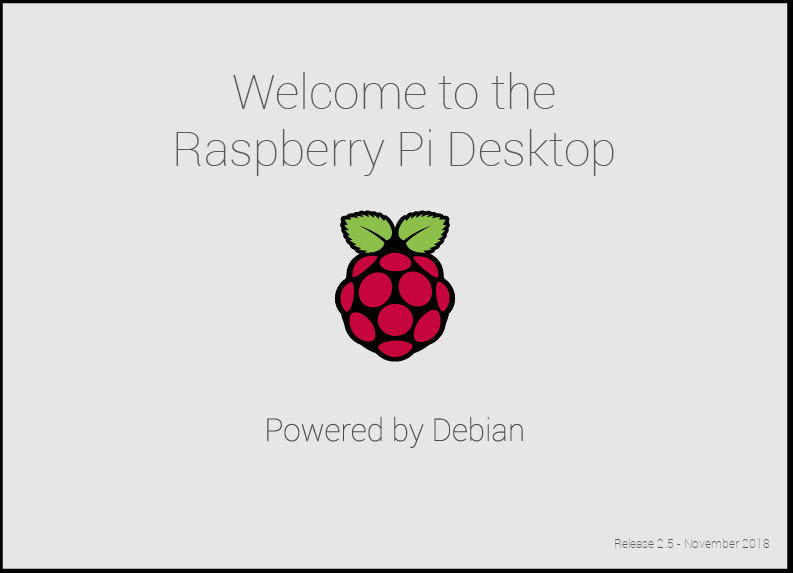
Congratulations! You’ve successfully brought Raspberry Pi OS into your world. Take a moment to explore the desktop environment, open applications, and marvel at the potential within your grasp.
In conclusion, fear not the installation of Raspberry Pi OS. Embrace the journey, savor the discoveries, and let your Raspberry Pi be the canvas for your digital dreams. The adventure has just begun!